
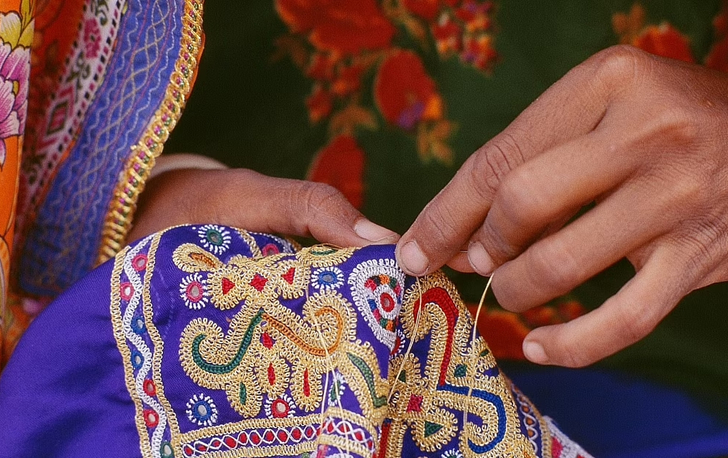
Traditional Embroidery of India
Sep 10 - 2022

If you’ve looked at a crocheted shawl or a cute amigurumi owl and have said ‘wow, I could never do that’, this post is for you. Whether you’re in your late 60’s or you’ve just said goodbye to your teens, crochet is a craft for anyone interested in learning something that could be both victorian and contemporary at the same time. To begin crocheting, you could either cross of the “Ultimate List of Crochet Supplies” checklist or just find a cosy cushioned area and sit down with
1) A crochet hookThe crochet hook to go for would be advisably a moderately sized one, 4mm or 5mm. While we have an array of hooks for you here at Pony’s , an ergonomic hook is the best for a beginners hand. If you just want to give crochet a try and spend the bare minimum, then an aluminium hook would work just as fine.
2) A skein of yarnThere are many weights of yarn; from super-fine baby weight yarn right to bulky weight wool. As a beginner it would be best to choose yarn in medium weight (#4 or worsted) in acrylic , cotton, wool or a blend . Choose a light-coloured and smooth textured yarn as it can be hard to see the stitches through dark and fuzzy yarn.
The yarn weight and crochet hook size complement each other so make sure you check the yarn label for the appropriate hook size for your specific yarn.
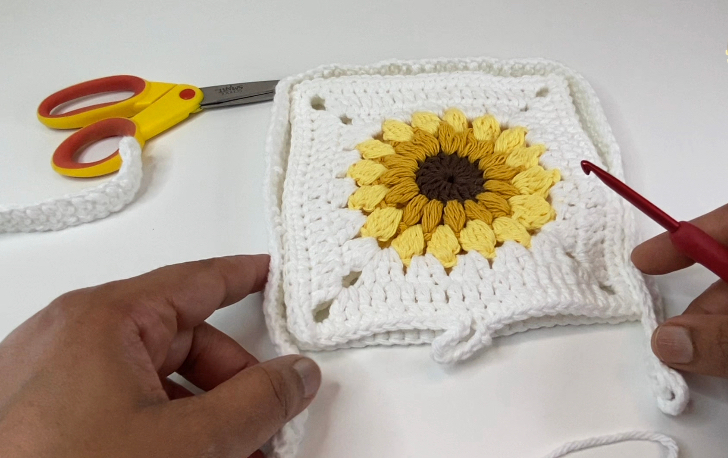
3) A pair of scissorsIt would be handy to have a pair of scissors and not just pull at the yarn like a savage. I have tried both and in times of desperation , aka sitting ten steps away from my supplies basket , i must admit, giving the yarn a good yank does work, albeit with the end looking rather straggly. So don’t be like me.
Get ready to begin…Alright, you look like you’re ready to go ahead and actually whip up some crocheted goodness. Don’t be discouraged if things get a bit bumpy along the way, all skills require practice, so keep going!
Note: These instructions use US terminology for crochet stitches and demonstrates right-handed instructions.
Hook holdBegin with holding the crochet hook in the way most natural to you. Some hold it like a knife, and some hold it like a pencil. You choose.
Slip knotEverything you crochet begins with a slip knot on the hook, and most patterns don’t give explicit instructions to make a slip knot because it goes without saying.
Make a loop with your yarn, then bring the tail of the yarn over the working yarn. The tail should be 4″to 6″ long after it crosses the body of the yarn. Insert your hook into the centre of the loop from front to back and use the hook to pull the ball-end yarn and pull it through to form a loop.
Pull both ends of the yarn to tighten the loop around the hook, not too tight though, the hook needs to be able to slide through that loop. The working yarn is held with your non-dominant hand, usually looping around your index finger, and then again over your pinkie finger. The most comfortable hold comes with practice, so again, don’t be discouraged !
Now that you’ve got the hang of holding a hook and yarn, stay tuned for step- by step instructions on how to crochet.
HOW TO CROCHET STEP-BY-STEPWelcome back! If you are back with your hook and yarn, make your slip knot (details in the previous post) , and continue following the steps to make your first crochet swatch.
Step 1: Make a starting chainHold the end of the slip knot between thumb and middle finger, and Loop the working yarn over the hook, from back to front (Yarn Over or YO) . Pivot the hook under the yarn, and pull through to make a loop on the hook. Here you have it, your first chain stitch! Remember, the slip knot is never counted.
Step 2: Make a foundational rowThe first foundation row of stitches is made of chain stitches. To make another chain stitch, yarn over the hook and pull up another loop. Repeat to make as many stitches your pattern requires or if you’re making a swatch, make 16 stitches. The tension of the stitches needs to be even, and this takes practice, so don’t worry if you have some oddly sized chains in the beginning.
Step 3: Phew! You probably need a break to admire your chainsThe front of the chain looks like a series of interlocking V’s and on the reverse , each stitch has a bump. The first row of crochet stitches is made into this foundation chain.
Step 4: Single Crochet the first rowSingle crochet (SC) is the most basic and most common crochet stitches. Amigurumi or crochet toys are made by only using SC’s! To work into the starting chain, insert the crochet hook into the second chain stitch from the hook, pushing the hook through the V of the chain. Yarn over (YO) and pull the hook from back to front . You will now have two loops on the hook. YO again, and pull through both the loops. You will now have a single loop your hook and your first SC, hurray! Continue to make SCs into every chain down the row
Step 5: Turning ChainWhen you come to the end of a row, turn your work over, make one or more chains stitches (known as turning chain) , and then begin the next row of stitches. These are essential in keeping your pattern edge even . The number of chains depend on the type of stitch you will use in the next row. For this swatch, only chain 1 since we will be using only single crochet stitches.
Step 6: Work Row 2 and moreThis row will be worked into the first row of single crochet stitches, and not into the foundation chain. After making the turning chain (this does not count as a stitch), insert your hook under the top two loops of the first stitch from the hook, YO and pull through. YO again and pull through both loops to make a SC. Continue to make SC stitches across the row making 1 SC in each of the 15 stitches. You can continue to turn your work and make rows of stitches , until you reach your desired length.
Step 7: Don’t leave loose endsOnce you’ve completed the last row of your crochet swatch, you’ll need to cut the yarn, and fasten it off so that the stitches don’t unravel. To do so, cut the yarn, leaving a 6-inch yarn tail. Use the hook to up draw the yarn tail through the loop on your hook. Remove the crochet hook from the work, and pull on the yarn tail to tighten it, essentially creating a knot. If you want, you could weave in the yarn tails back and forth into the crochet piece , using a blunt-tipped yarn needle
There you go, you’ve just completed your first crochet sample. Now , wasn’t that easy?
Sep 10 - 2022
Aug 02 - 2022
Jun 14 - 2022
